The History and Revival of Wax Seals
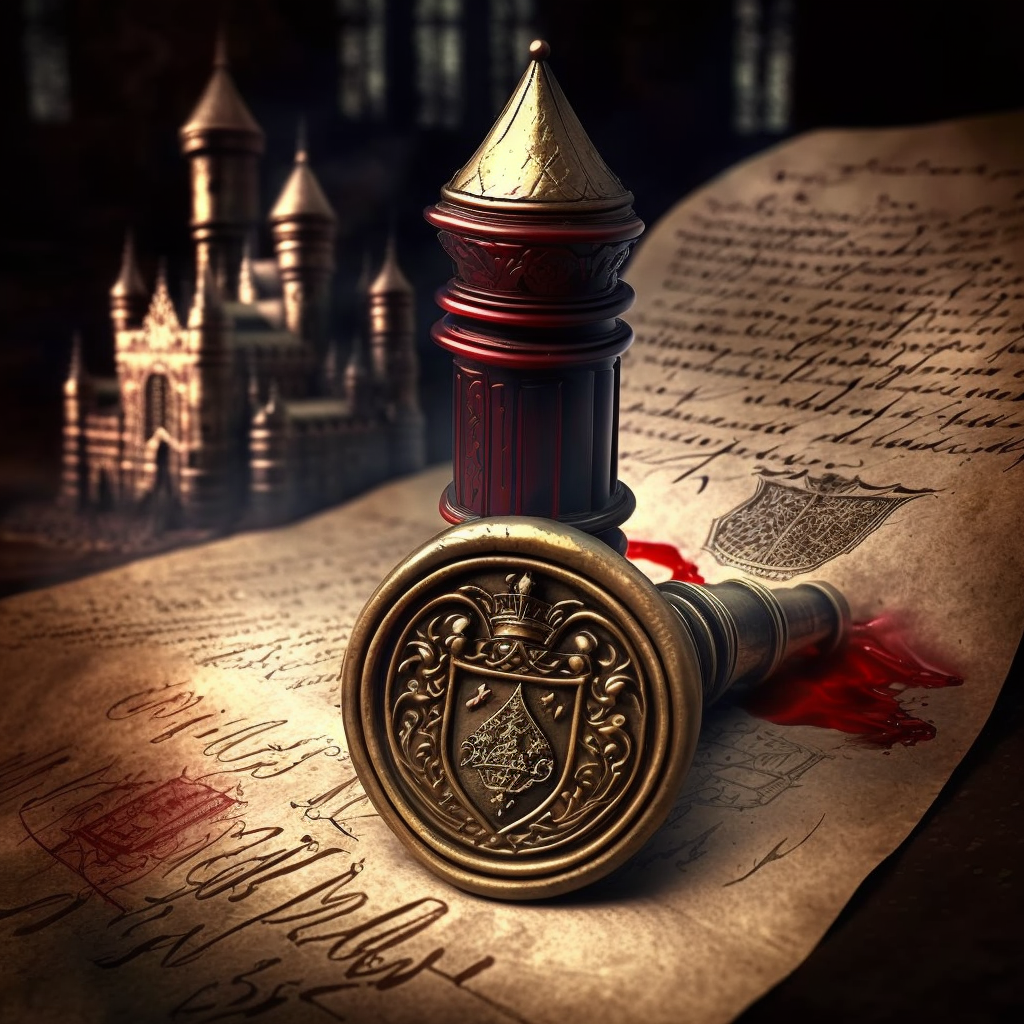
In the epic fantasy series Game of Thrones, wax seals were prominently used to securely close and authorize royal decrees, missives, and other official correspondence in the fictional Seven Kingdoms of Westeros.
Wax seals have reemerged in popular culture in recent years, brought on in part by a nostalgia for bygone eras depicted in films and TV shows. Lavish period dramas like The Crown, Downton Abbey, Bridgerton and Game of Thrones prominently feature wax seals as an integral part of correspondence during those times. The vintage aesthetic of wax seals appeals to many crafters, stationers, and businesses looking to incorporate touches of history and elegance.
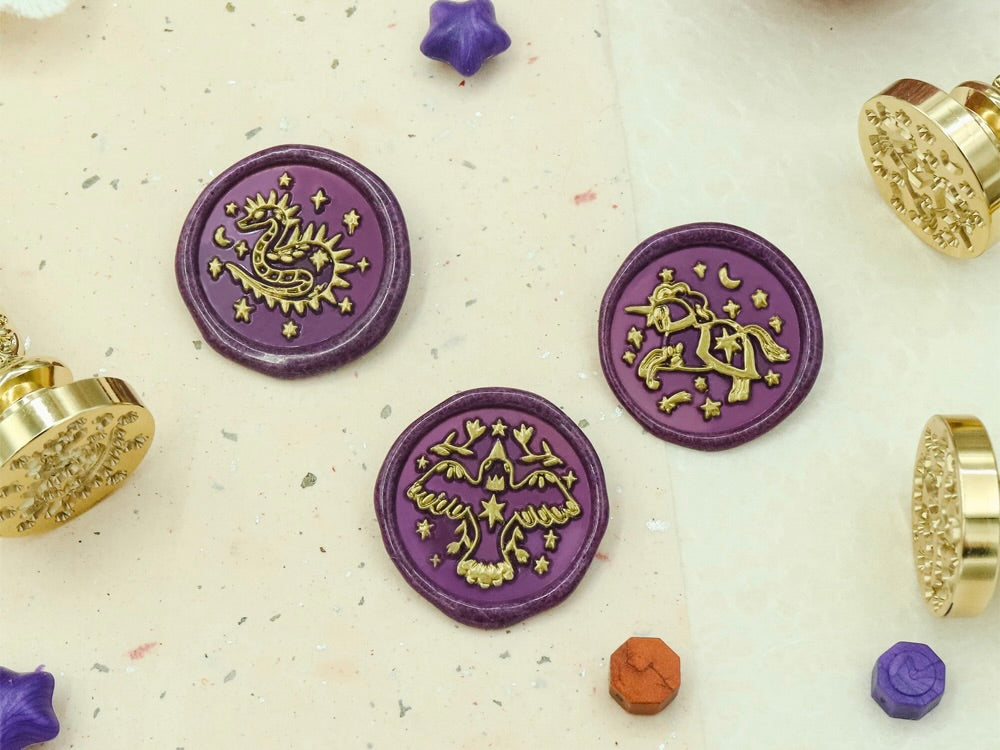
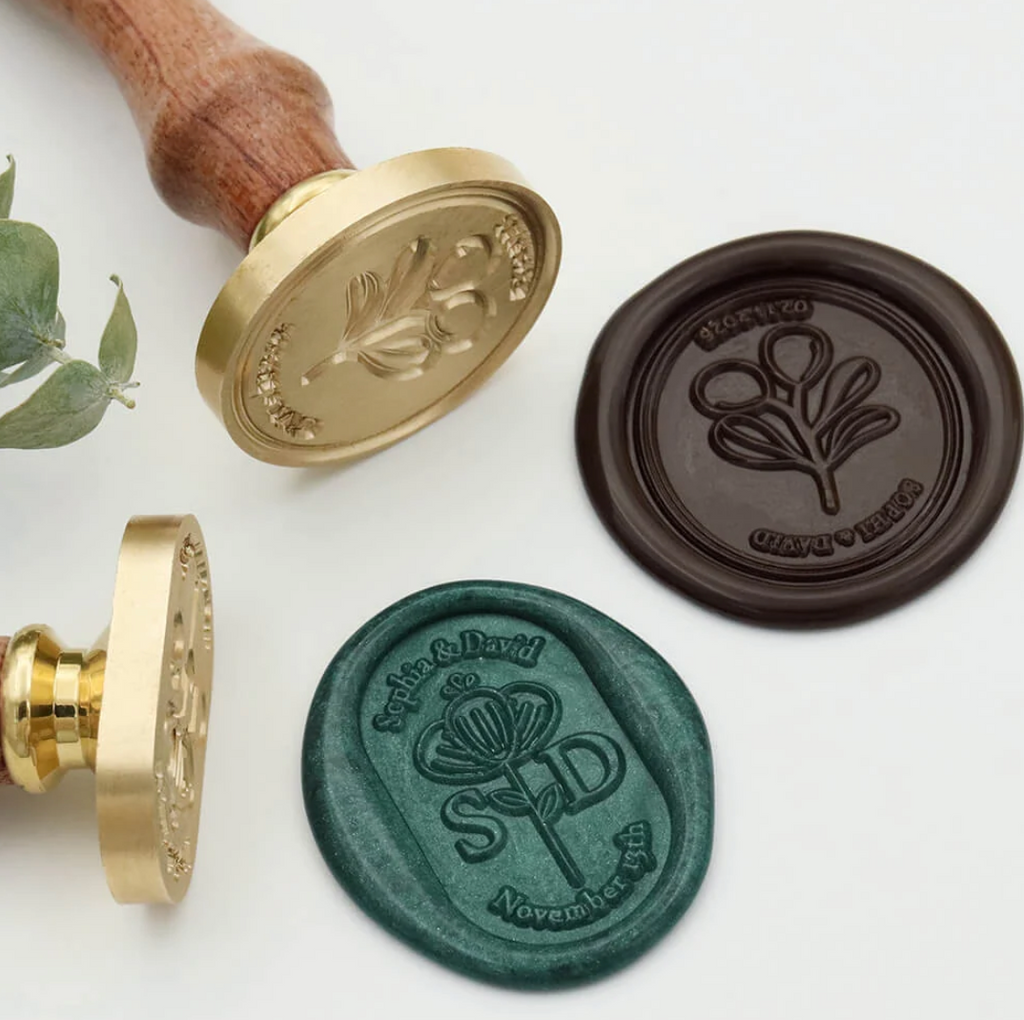
Craft stores now offer wax seal kits with brightly colored sealing wax sticks, embossing stamps and seal presses to make the process easy and accessible for hobbyists. Many independent stationers and specialty shops provide custom design services for personalized wedding stationery, product packaging, and business logos transformed into custom wax seal stamps. Some notable examples of brands that have incorporated wax seal motifs into their product designs include Beekman 1802, Mrs. John L. Strong, and Sugar Paper.
What is a Wax Seal?
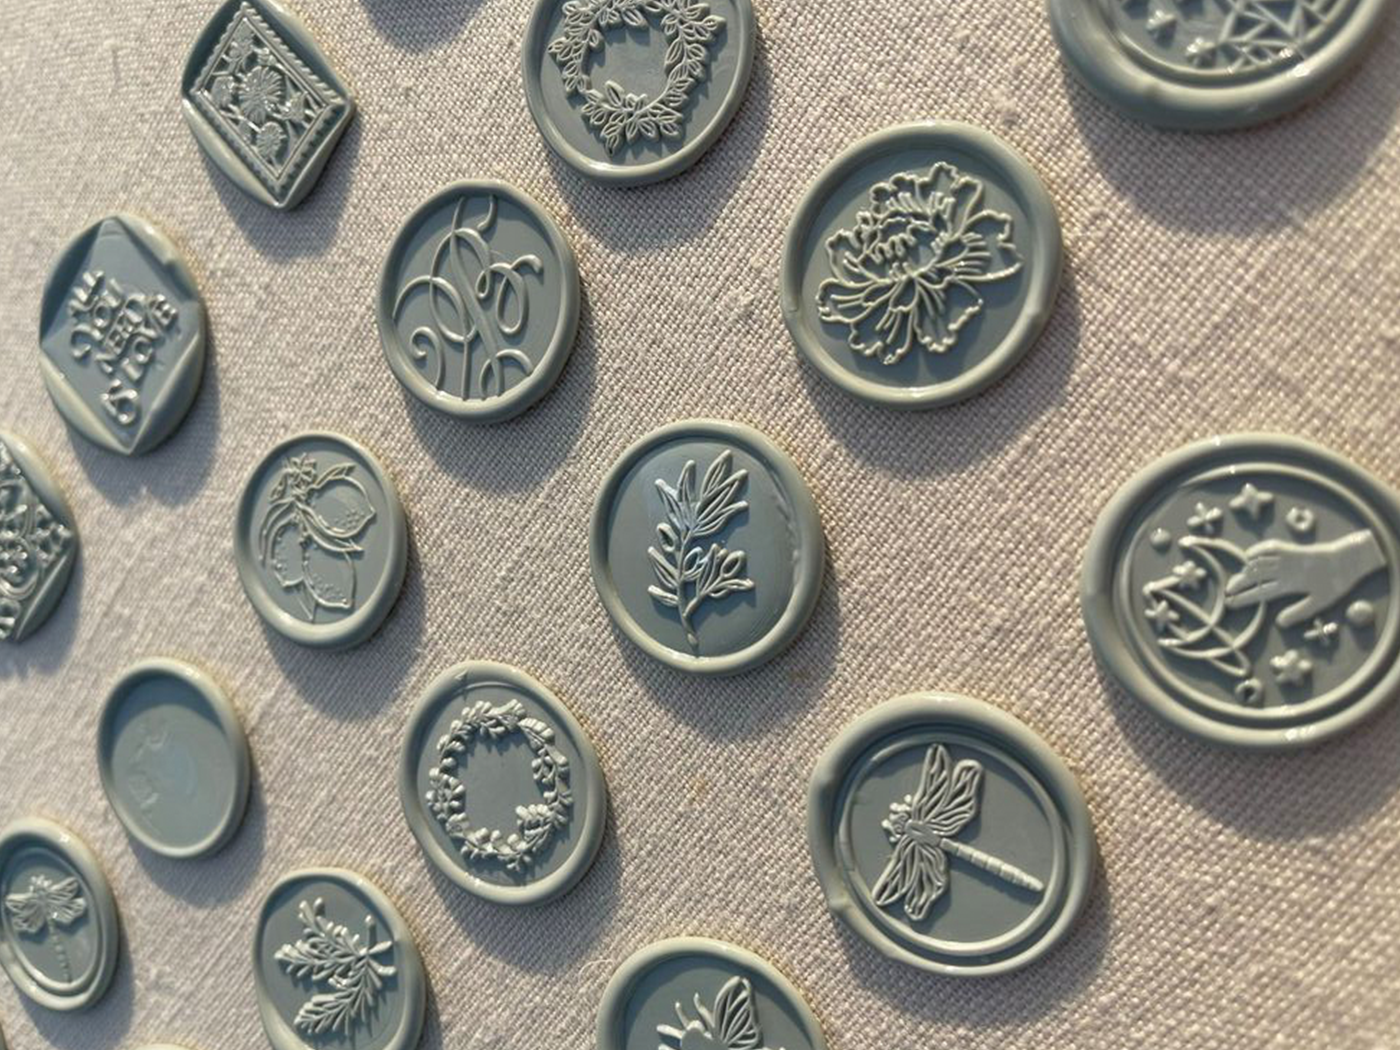
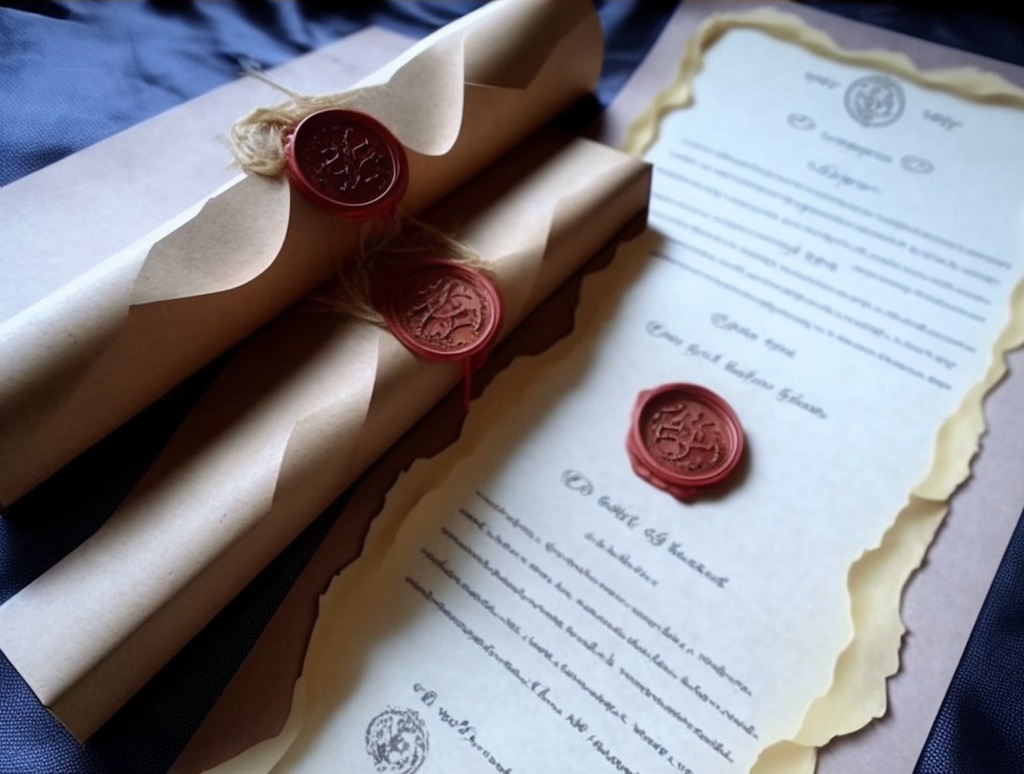
A wax seal is a stamped emblem in wax, typically made of beeswax or sealing wax, that is applied to close and secure folded letters, documents or other openings. To make a wax seal, melting wax is applied to the joined edges of paper and a metal embossing stamp is firmly pressed into the wax. Once hardened, the wax seal ensures the contents inside remain private and unread until broken.
The earliest known wax seals date to around 3500 years ago, used by ancient Egyptians to seal urns and boxes. However, wax seals gained widespread use during the Middle Ages in Europe for sealing official documents and letters. The wax used was typically made of beeswax, mixed with resin and coloring. Laurel, lily of the valley and sunflower were popular shapes for embossing stamps, along with initials and coats of arms.
How to Make Wax Seals
To make your own wax seals, you will need the following supplies:
- Sealing wax sticks or beads in your chosen color(s) - typically made of beeswax and resin
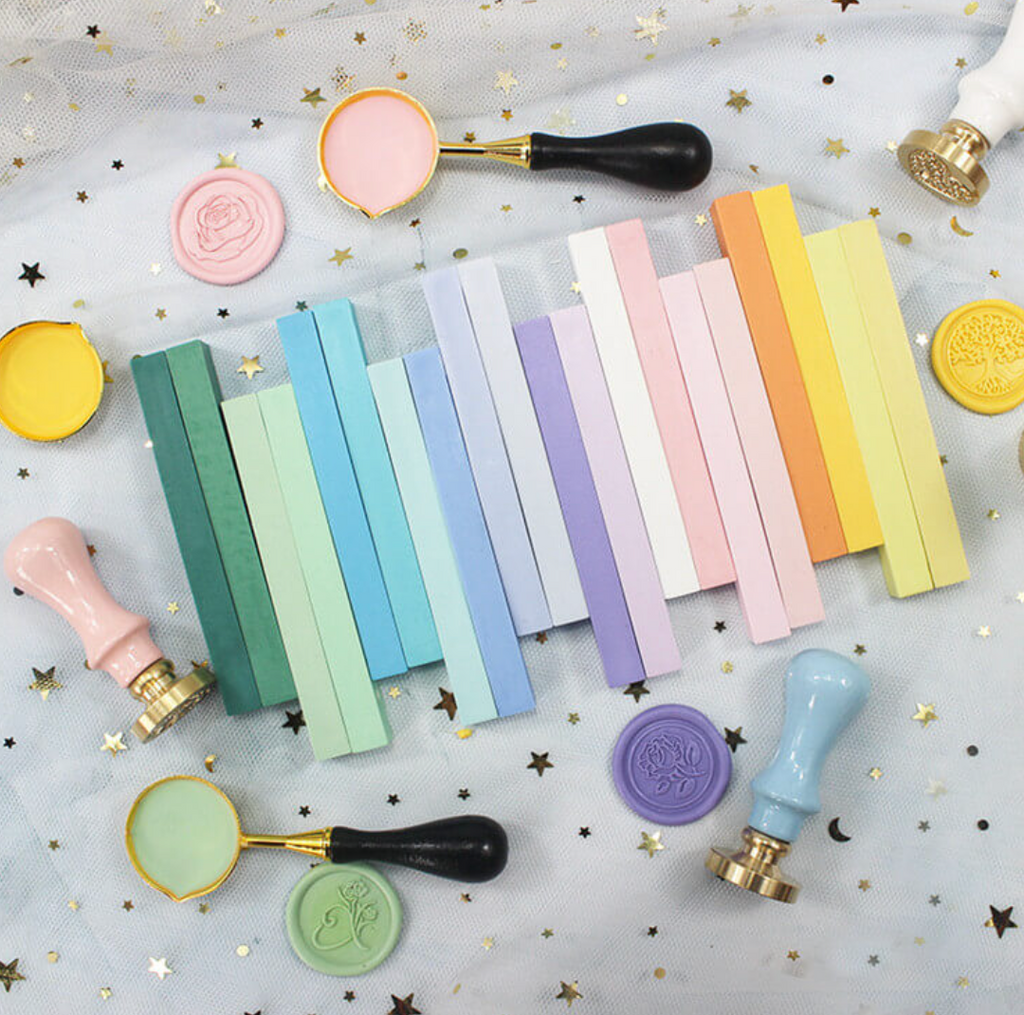
- Embossing stamp or seal press - brass stamps provide the most detailed impressions
- Envelopes, stationary or packaging to seal
- Optional: wax seal stamping kit or glue gun or melting set for easier application
- envelopes, letters or boxes to seal
Detailed Steps
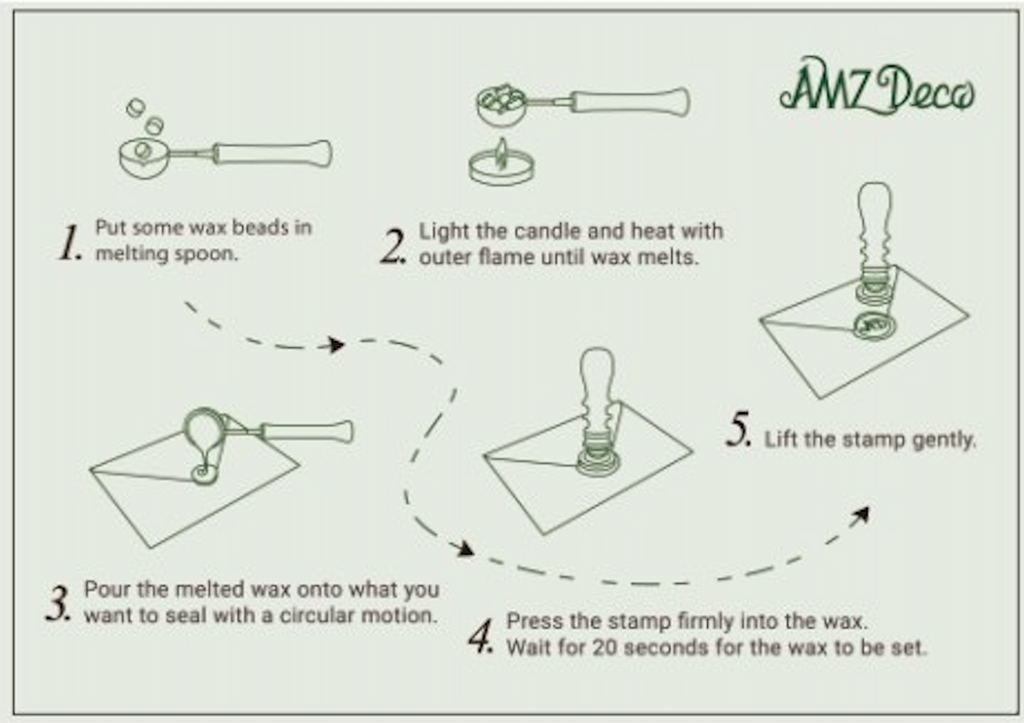
Step 1: Heat the sealing wax. You can use a double boiler, small slow cooker, wax seal stamping kit warmer or pour pot warmer according to the product instructions until melted to a liquid state. Alternately, hold a sealing wax stick over a flame, such as a candle flame, until the wax begins to drip.
Step 2: Apply the melted wax to the area you want to seal. For envelopes, apply to the sealed flap area or around the edge of the back of the envelope. For letters or boxes, apply around the opening you want to seal shut.
Step 3: Quickly press your embossing stamp or seal press into the melted wax before it hardens. Press down firmly to create an imprint, then lift straight up carefully.
Step 4: Hold the stamp in place as the wax hardens, about 5 to 10 seconds. Remove any excess wax from around the seal before it hardens for a clean impression.
Step 5: Once the wax has fully hardened, your wax seal is complete. You can now safely mail or package the item with your personalized seal securing it shut.
With some practice, you’ll be creating beautiful custom seals in no time. Wax seals add elegance and style to any handmade craft or correspondence. Though no longer required for security, the nostalgic appeal of this centuries-old art form endures. By reviving the tradition of wax seals, history comes alive in a creative, tangible way.
FAQ:
1. Heating Wax with a Spoon
Melt wax beads or chopped wax stick pieces, about 30 sec to 1 min. Pour like frying an egg, using a zigzag motion for messy shapes. Pop air bubbles quickly. Chill the stamp 10 sec, then remove. Trim any “wax hairs” once cooled or they’ll pull away wax.
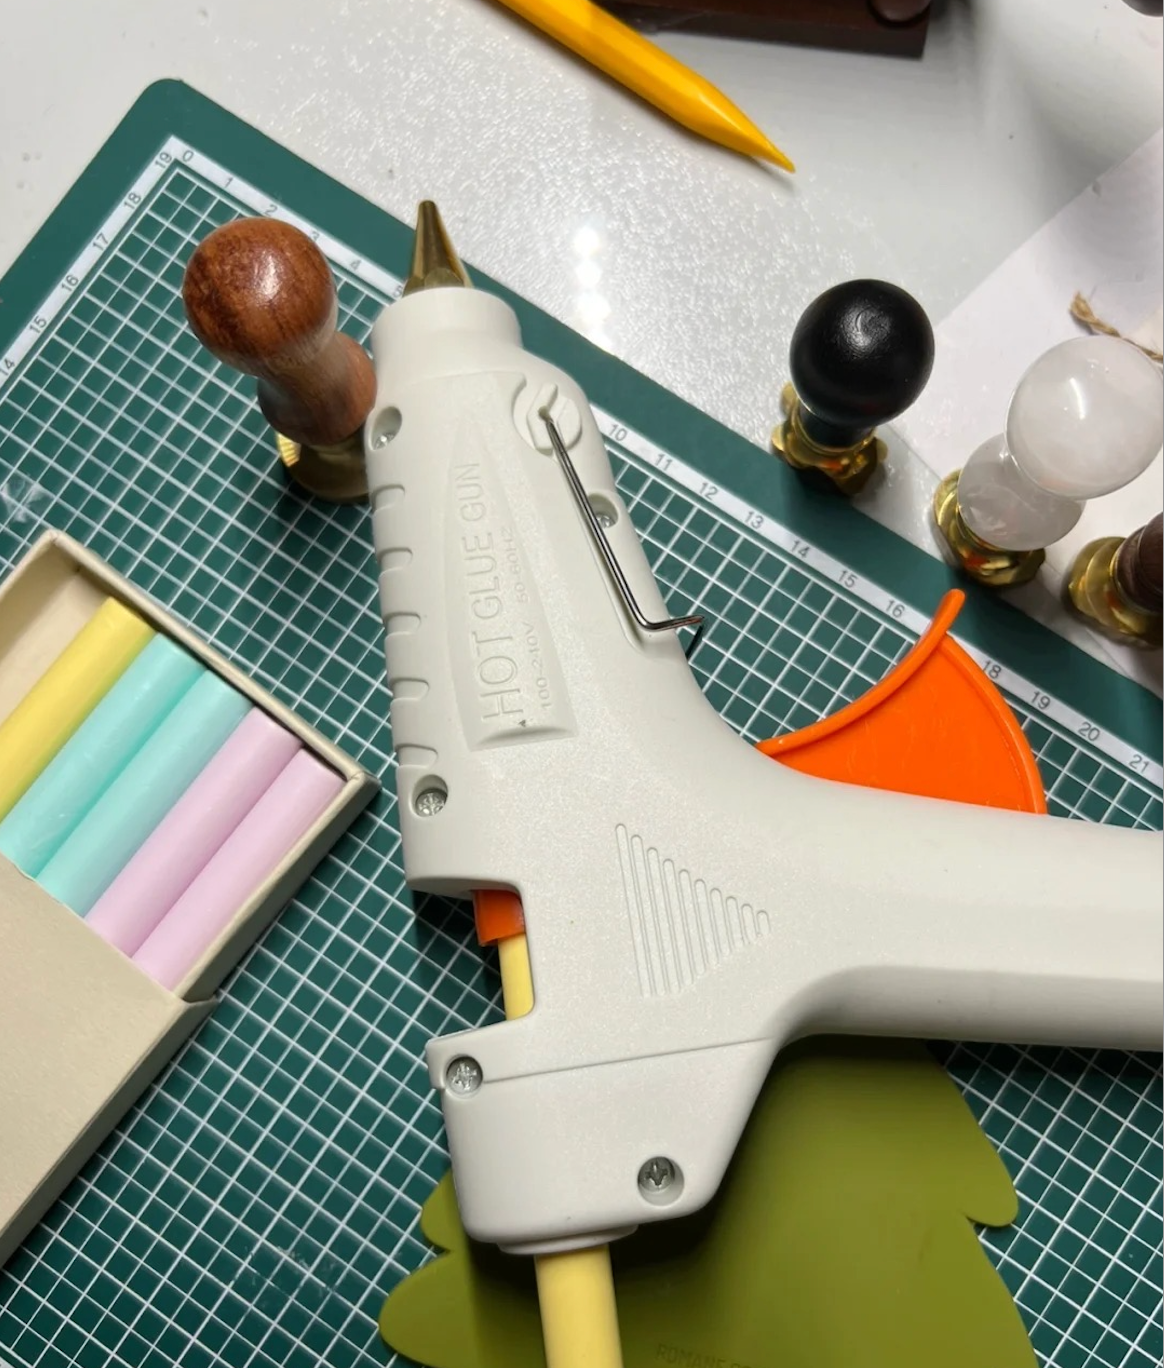
2. Healing Wax with a Glue Gun
For a glue gun, set to low heat. Seal envelopes first for security. Use 1-1.5 pumps of wax for a 1” seal, adjusting for size. Find the etched mark, place the stamp, and hold 10-15 seconds. Release and chill the stamp. The pour technique influences the shape. For circles, pour carefully. For organic shapes, pour messily.
To change colors, push out the old color with 2 glue sticks, then load the new color. It takes 2 full sticks to switch completely. For frequent color changes, consider a separate gun for each color.
3.Making Pre-Made Seals
To make seals off-project, pour onto a silicone baking sheet, marble, or silver platter. Pop finished seals off easily. Apply double-sided stickers to the back, then peel off the second side when ready to use.
More details about wax seals for beginners can be found in this video if you have an interest: